Creating a Media Album

1. Log into Schoology and click into your Schoology Course.
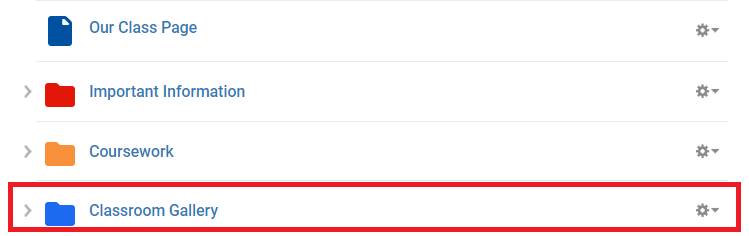
2. Click into your Classroom Gallery folder. If you do not have a Classroom Gallery folder, you can create one under Add Materials.
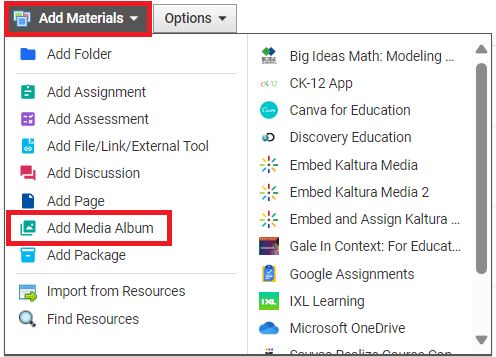
3. Click Add Materials and select Add Media Album.
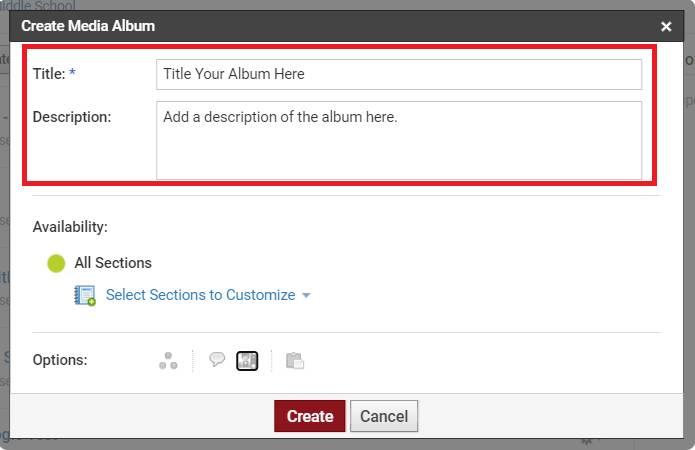
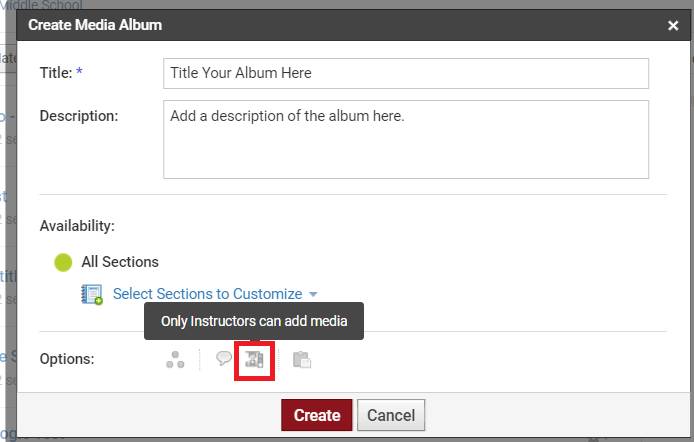
4. Title your Media Album and add a Description.
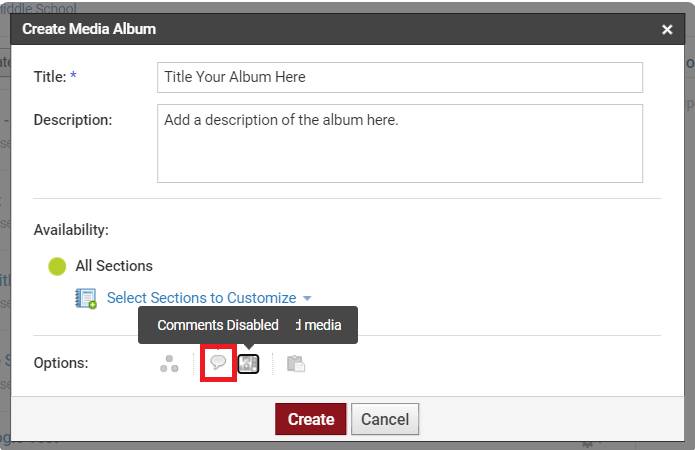
5. Important Step: Disable Comments by clicking on the word bubble icon.
6. Important Step: Change the setting for who can upload photos to Only Instructors can add media by clicking on the instructor icon.
7. Click Create.
Saving a Media Album Setup to Resources
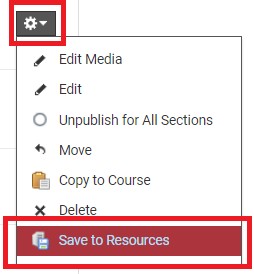
Be sure to save the media album to your Resources prior to adding media. This will allow you to add another Media Album to your Course more easily, with all the correct settings preset. To do this, click the gear icon to the right of your Media Album and then select Save to Resources from the drop-down menu. The Media Album template is now saved in your Personal Schoology Resources.
Importing a Media Album to your Schoology Course from Resources
1. Click Add Materials and then select Import from Resources from the drop-down menu.
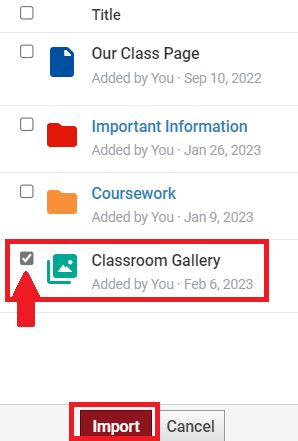
2. Navigate to your Media Album file and check the box to the left of it and click Import.
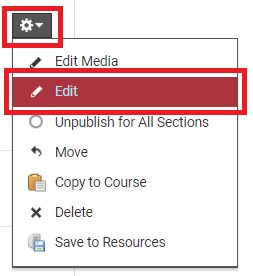
Your Media Album template will now show in your Schoology Course. To edit it, click the gear icon to the right of the Media Album and then select Edit from the drop-down menu.
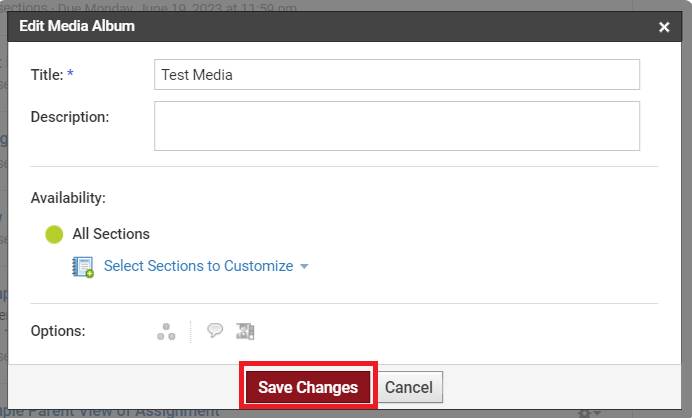
Make any changes you need to make and then click Save Changes.
Click the link below to learn more about creating a media album.
Creating a Media Album: Course Materials: Media Albums (powerschool-docs.com)