Teachers can embed a Microsoft file right into their Schoology Courses. To do this, please follow these instructions:
1. Log into Schoology and click into the Schoology Course you want to embed the document into.
Please Note: Be sure to navigate to the folder you want to embed the file into prior to completing these steps. If you are an elementary or middle school teacher, you will need to be sure the file is at least located in your Coursework folder (unless this is for your My Class Page).
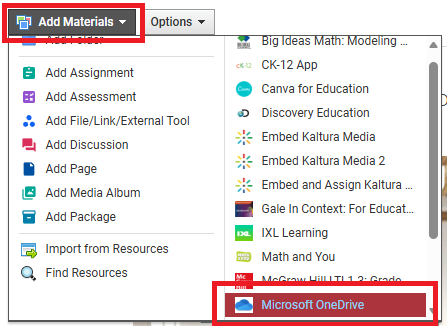
2. Click Add Materials and then click Microsoft OneDrive from the right-hand side of the menu.
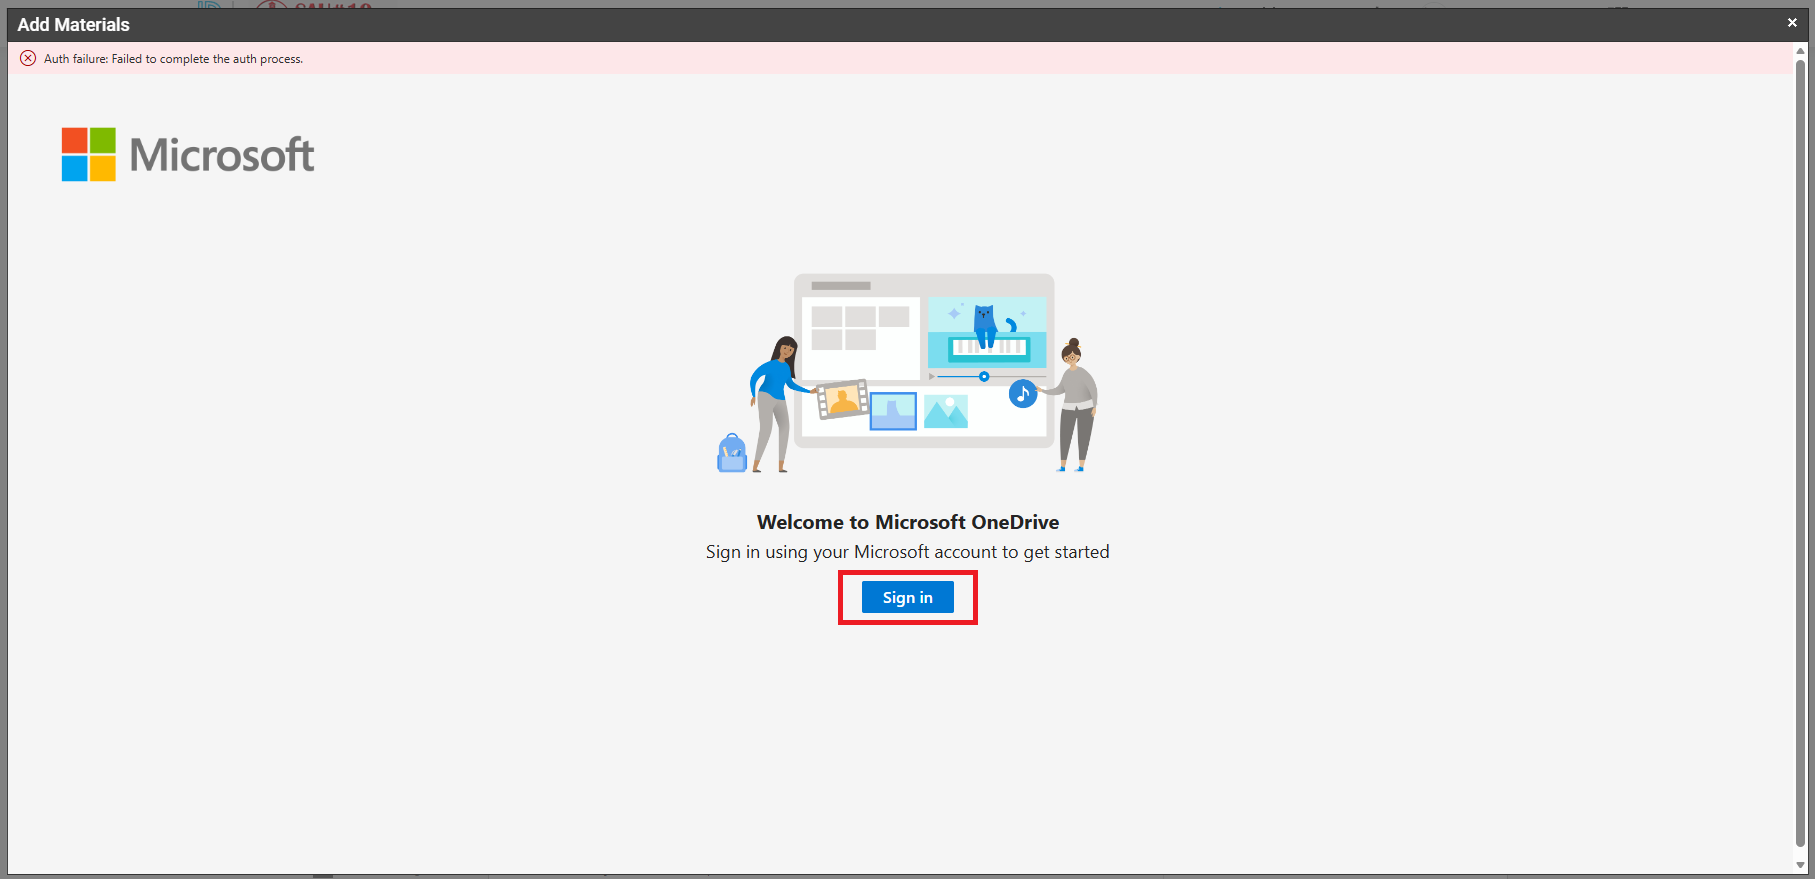
If this is the first time you are going into OneDrive through this method, you will need to connect your accounts. Follow the prompts to Sing in and allow this connection.
3. Check the circle next to the file you want to embed and then click Select.
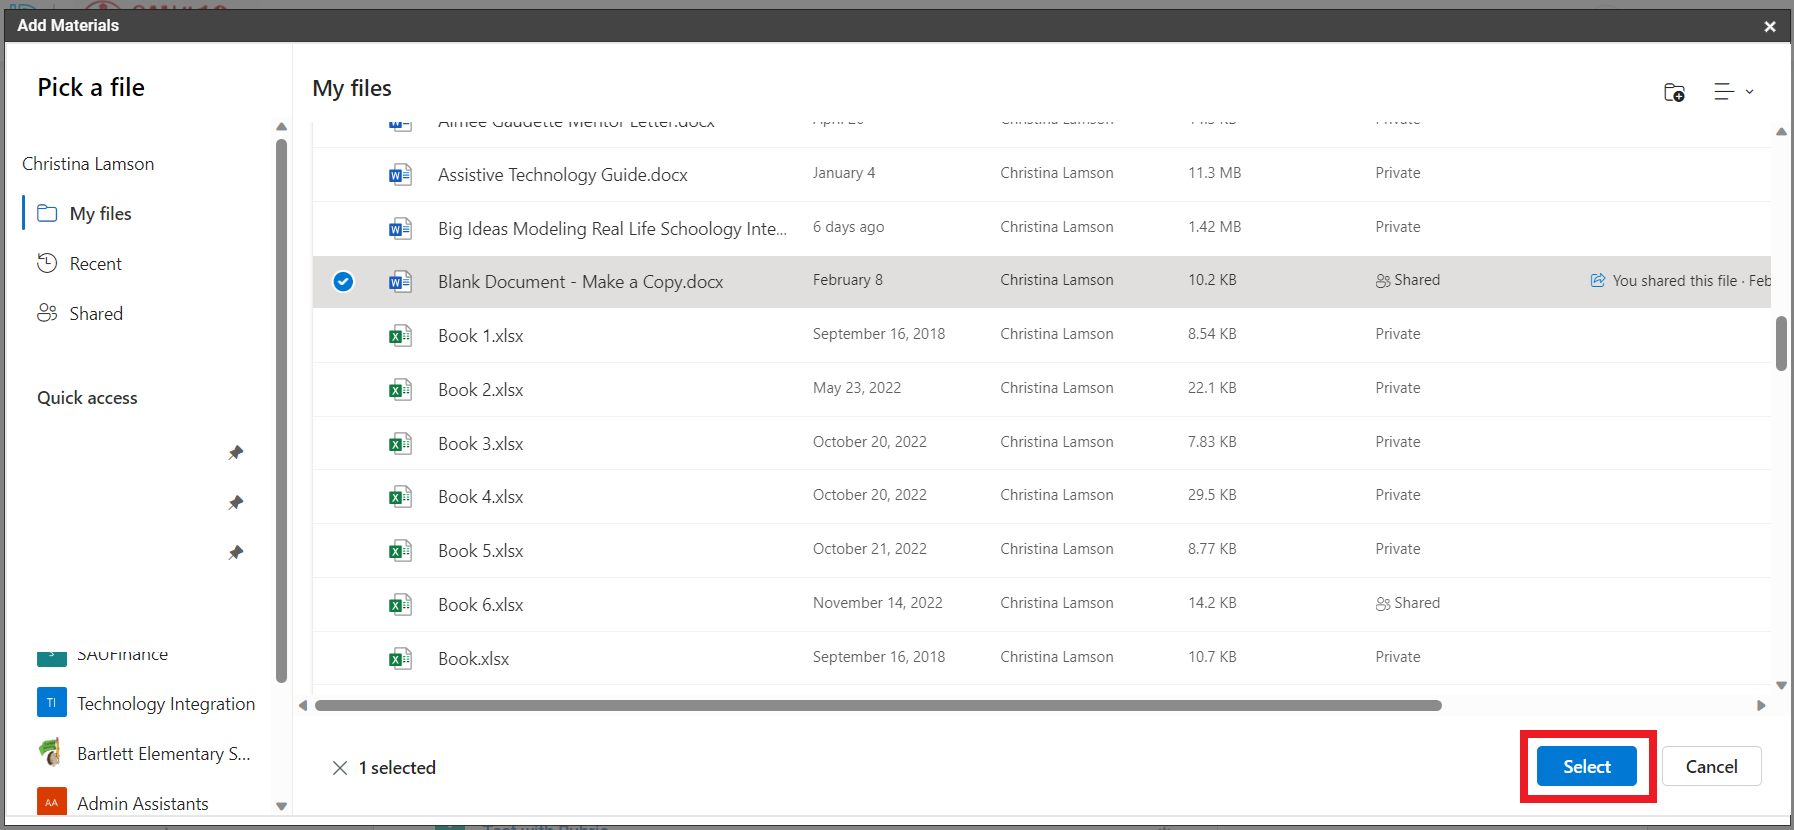
You will see a message stating that it Successfully uploaded the file. You can X out of this window.
Your file will now be embedded into your Schoology Course.
Embedding a Microsoft File within a Page to Display Inline
If you want a Microsoft file to immediately be visible without having to click on it, you can embed a Microsoft file within a page. This feature will work in the Secondary View but is not currently supported by the Elementary View. Please follow these instructions:
Change the permissions on the Microsoft file:
In order for students and their families to view a file without having to log into OneDrive, you will need to change the sharing permissions. To change the sharing permissions, please follow these directions:
1. Open the Microsoft file you want to share and then click on Share in the upper right-hand corner and click Copy Link.

2. Change the Share the link with setting to Anyone.
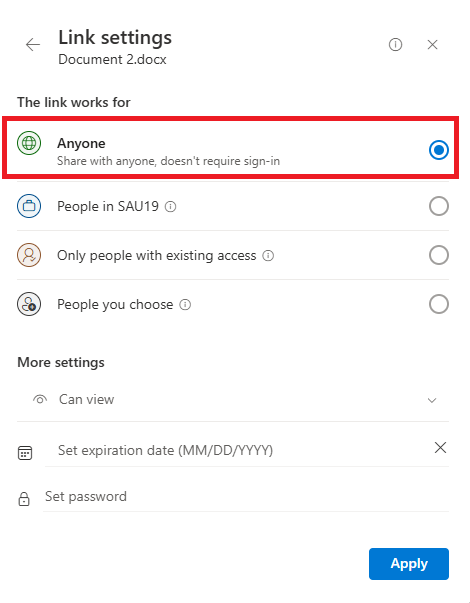
3. Under More settings, change it to Can view and click Apply.
4. You will get a message stating, Link Copied. You can X out of that screen.
When you complete the steps to embed the file into a Schoology page, it will now be viewable without having to log into OneDrive to view it.
Embed the file into a Schoology page:1. When inside a Schoology Course, click on Add Materials and select Add Page.
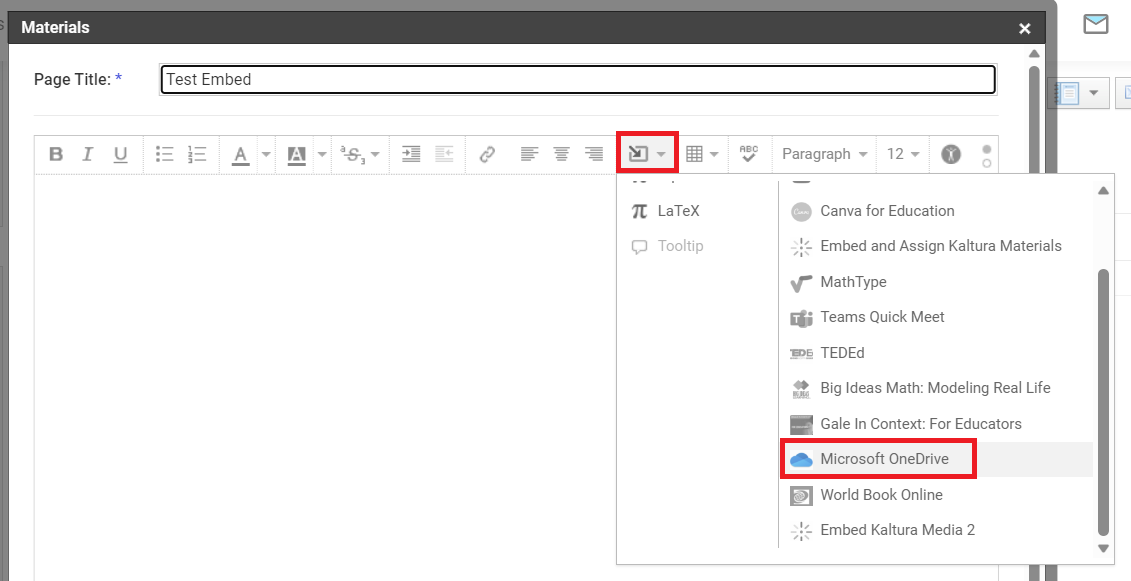
2. Title your Page by adding a name into the Page Title text box.
3. Click the Insert Content icon and then select Microsoft OneDrive.
4. Check the circle next to the file you want to embed and then click Embed.
5. The embedded file will show in the frame as a yellow box. This is intended behavior and will correct after it has been added. At the bottom of that window, you will see an ABC icon. Click on it and ensure when you hover over it, it now shows Display Inline and then click Create.

Your file will now be embedded into your Schoology Course and will be visible without having to click on the file itself. As the educator, you will also see the edit button. You can click on it to go into the file and edit it. The edits will refresh inside your Course or any Course you embedded it in.
When students go into their Schoology Courses, they will also see the embedded file. If you did not change the sharing permissions, they may be prompted to log into their Microsoft accounts to view the file. Once they log in, they can view the file.