Google Drive Assignments:
To use Google Drive Assignments which creates a copy for each student in that class, please follow these steps:
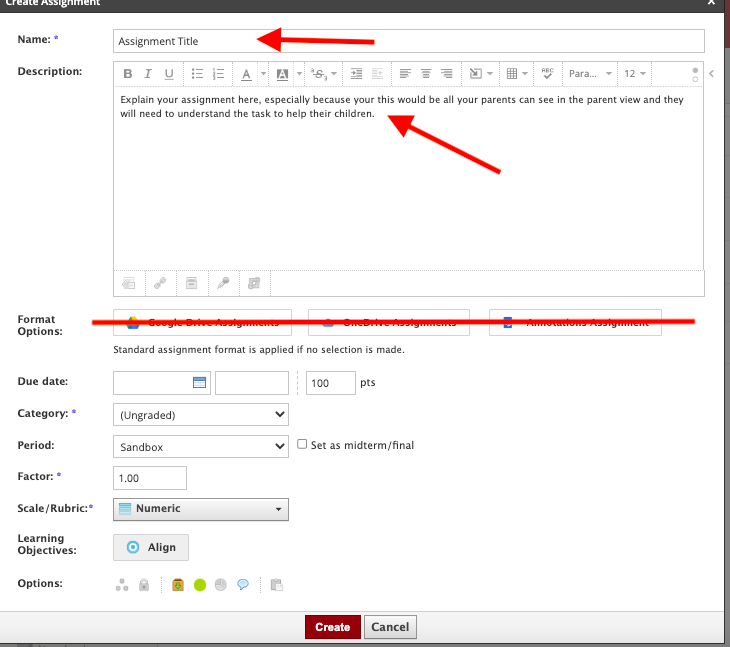
1. Click ‘Add Assignment’.
2. Enter only directions or a message in the text box.
3. Click the ‘Google Drive Assignments’ button. 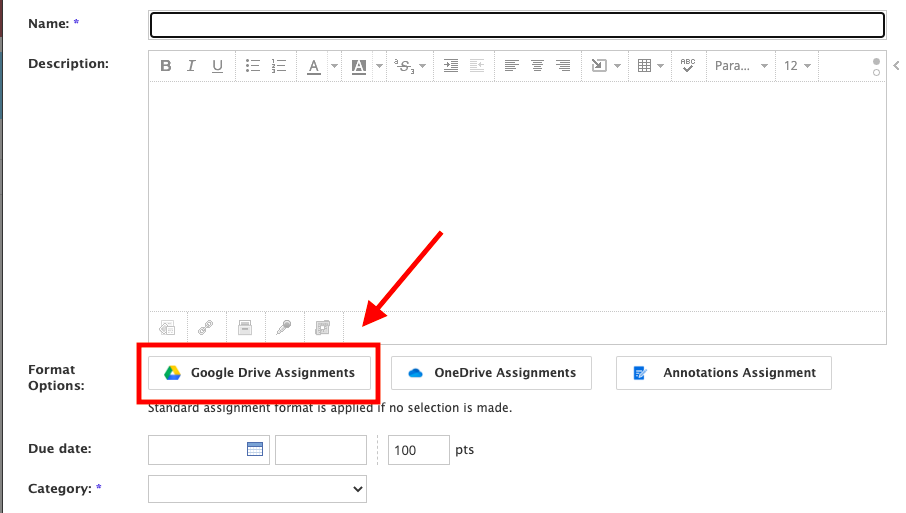
4. If you haven’t linked your account, click this link to follow the steps in by clicking link your account (you should only need to do this once): SAU19 Knowledge Base - Google Schoology Integration - Linking Google Accounts.
5. Choose the file to assign to the students and click on it to select it, and then press ‘Attach’. 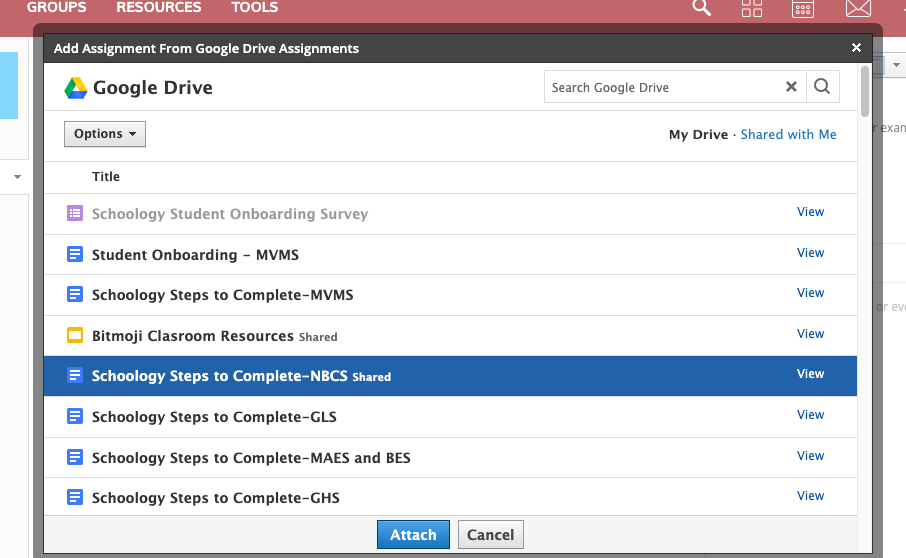
If you do not see the files you want to add, you must first click 'Is something missing? Add files from Google Drive'.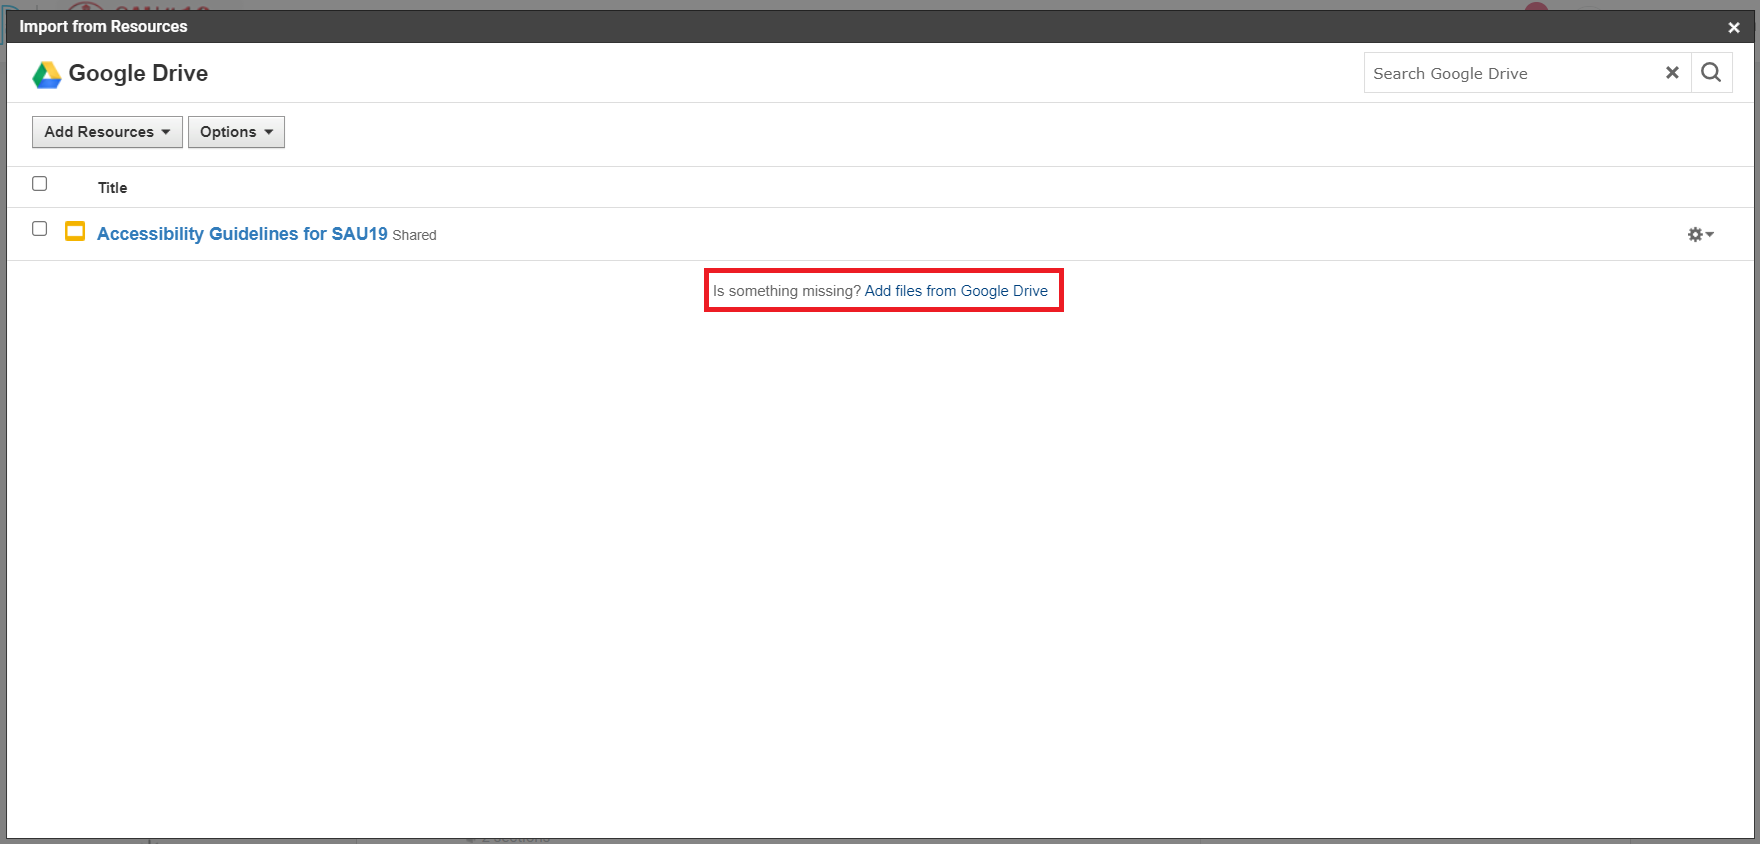
Then select the file you want to add and click 'Select'.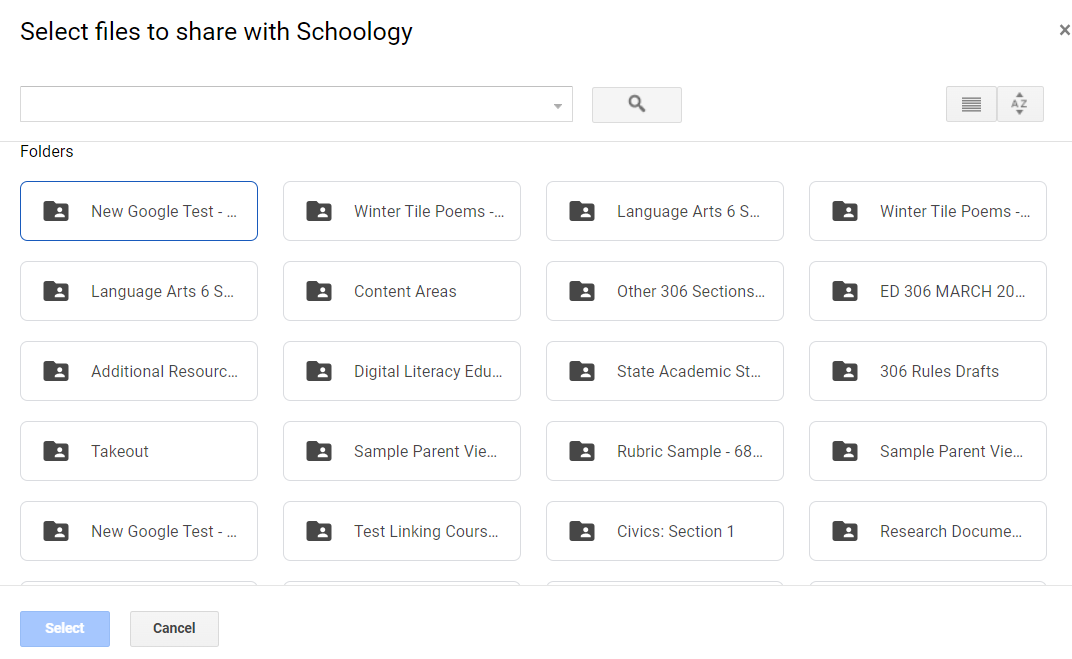
This will create a copy of the assignment for all your students like in Google Classroom. 
*** Please note that since Google Drive is a Third Party App in Schoology, assignments cannot be created and then just copied into each Course. The assignment shell will copy, but the Google Assignment Resources itself will not. This is the same case if trying to create inside Resources and then copy back into a class.
Allowing Students to Individually Upload Google Drive Resources to an Assignment:
To use create an assignment in Schoology and then have students go to Google themselves to create the work and then attach it to your assignment:
1. Click ‘Add Assignment’.
2. You have 2 choices for setting up the assignment directions:
a. You can create an assignment, give it a title, and explain the assignment in the text box. Do not attach anything to the Google Drive Assignments button. Set you category and due date (or ungraded), and press create.
b. You can create an assignment, give it a title, and attach a Google Slide or Document that already has directions for the assignment on it by:
i. Ensure your Google Resource sharing options are set to 'Anyone with Link'.
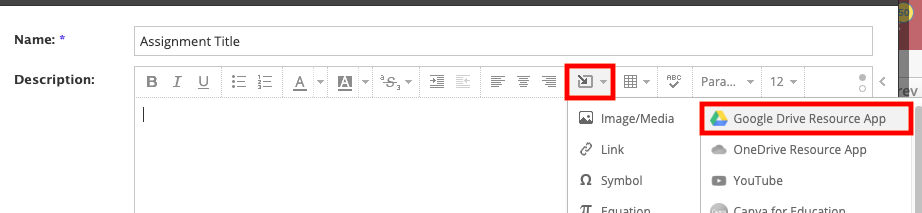
ii. Click on the import icon and choose 'Google Resource App'.
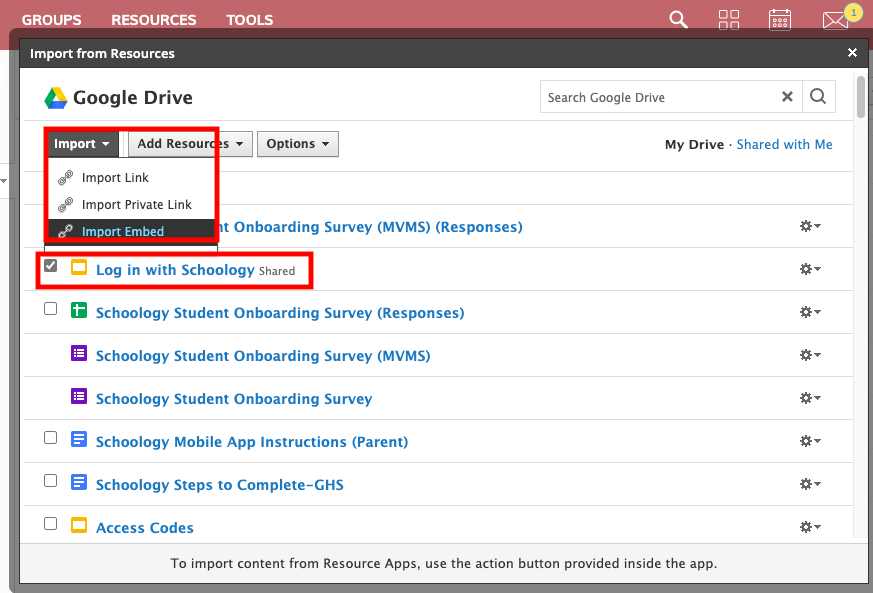
iii. Check the box next to the direction you want to add, click the drop-down next to import, and select 'Import Embed'.
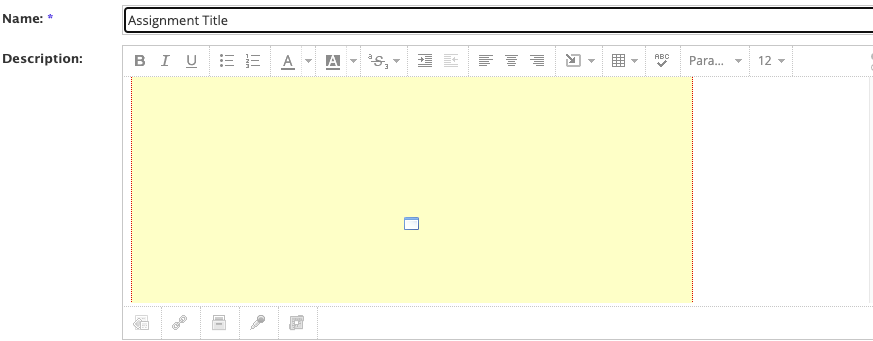
*Once imported, it will show as a blank screen in the text box - this is expected.
iiii. Click 'Create'.
When you click to open the assignment, the resource you embedded will now be visible.
*This can now be copied into all of your Course with no issues.
Students can now create their work in either Google or OneDrive and then attach it to your assignment by following the directions outlined in this link: SAU19 Knowledge Base - Schoology - Attaching a Google Drive or OneDrive File to an Assignment